14 min to read
Basic REST API with Laravel
PHP lives

Hi folks! In this article I going to show how to build a basic REST API using Laravel. In this project I’ll use ubuntu 22.04 and Visual Code as OS and code editor. But, feel free for use what you want.
1. Requisites
Before we start, you have to spend a little of time installing some tools:
2. The project
Let’s make a REST API to help us to manager articles. Basically, we will have two entities and we will build a CRUD for each one. The entities are the author of the article and the article (obviously).
3. Creating the project
After requisites are installed, let’s create our project! Run the command bellow in terminal:
composer create-project laravel/laravel blog-api
Now, you are able to see the laravel project in your browser. First, inside of project folder, run the start project command:
cd blog-api go to project folder
php artisan serve
Access in the browser the follow url http://localhost:8000. You will see the laravel standard page.
4. Database
Check the structure of the project, you will find a file called .env. Here, you have to define the MySQL credentials, as shown bellow:
DB_CONNECTION=mysql
DB_HOST=127.0.0.1
DB_PORT=3306
DB_DATABASE=blog
DB_USERNAME=root
DB_PASSWORD=root
Make sure the MySQL is running in your PC and that you have created the blog database.
5. Models
As said before, we will need only two entities. So, let’s create the models! In terminal run the follow:
php artisan make:model Author -mfs
php artisan make:model Article -mfs
We did not create the standard controllers because, in that case, we will use API controller instead.
To see what -mfs means or read more about Laravel. Please, check out the API site.
6. Migrations
With database configured and the models created. Now, let’s work in our migrations. If you look in app/database/migrations, will see files that correspond to the our models.
For article migration file, we’ll define more three fields: title, description and text. Relieze that description, in this case, can be nullable. In this step the file would looks like bellow:
<?php

use Illuminate\Database\Migrations\Migration;
use Illuminate\Database\Schema\Blueprint;
use Illuminate\Support\Facades\Schema;

return new class extends Migration
{
    /**
     * Run the migrations.
     */
    public function up(): void
    {
        Schema::create('articles', function (Blueprint $table) {
            $table->id();
            $table->timestamps();
            $table->string('title');
            $table->string('description')->nullable();
            $table->string('text');
        });
    }

    /**
     * Reverse the migrations.
     */
    public function down(): void
    {
        Schema::dropIfExists('articles');
    }
};
Let’s make the same with author, but for this entity we’ll create only more two fields as shown bellow:
<?php

use Illuminate\Database\Migrations\Migration;
use Illuminate\Database\Schema\Blueprint;
use Illuminate\Support\Facades\Schema;

return new class extends Migration
{
    /**
     * Run the migrations.
     */
    public function up(): void
    {
        Schema::create('authors', function (Blueprint $table) {
            $table->id();
            $table->timestamps();
            $table->string('name');
            $table->string('email')->unique();
        });
    }

    /**
     * Reverse the migrations.
     */
    public function down(): void
    {
        Schema::dropIfExists('authors');
    }
};
6.1 Many to one relation
The project looks ok, but is not the end yet. We need define the relation between our enteties. For this study (and more logic) we’ll define one article can just has a unique author and one author can be in more than one article. We have here a one to many relation.
For this modification, we have to edit the models and the migrations. In the article model, we need to use BelongsTo from Illuminate. Add the code bellow in top of your file:
use Illuminate\Database\Eloquent\Relations\BelongsTo;
After, define the relation throw the follow function:
<?php

namespace App\Models;

use Illuminate\Database\Eloquent\Factories\HasFactory;
use Illuminate\Database\Eloquent\Model;
use Illuminate\Database\Eloquent\Relations\BelongsTo;

class Article extends Model
{
    use HasFactory;

    public function author(): BelongsTo
    {
        return $this->belongsTo(Author::class);
    }
}
In author’s model, you have to make similar. First add HasMany from Illuminate:
use Illuminate\Database\Eloquent\Relations\HasMany;
And define the relation throw the method:
<?php

namespace App\Models;

use Illuminate\Database\Eloquent\Factories\HasFactory;
use Illuminate\Database\Eloquent\Model;
use Illuminate\Database\Eloquent\Relations\HasMany;

class Author extends Model
{
    use HasFactory;

    public function articles(): HasMany
    {
        return $this->hasMany(Article::class);
    }
}
In migrations we need to work only in file that define the article’s fields. We have to define more one (the foreign key) field in up() function, inside Scheme::create() add:
$table->unsignedBigInteger('author_id');
$table->foreign('author_id')->references('id')->on('authors')->onDelete('cascade');
In the end, your file about article migration should looks like as shown bellow:
<?php

use Illuminate\Database\Migrations\Migration;
use Illuminate\Database\Schema\Blueprint;
use Illuminate\Support\Facades\Schema;

return new class extends Migration
{
    /**
     * Run the migrations.
     */
    public function up(): void
    {
        Schema::create('articles', function (Blueprint $table) {
            $table->id();
            $table->timestamps();
            $table->string('title');
            $table->string('description')->nullable();
            $table->string('text');
            $table->unsignedBigInteger('author_id');
            $table->foreign('author_id')->references('id')->on('authors')->onDelete('cascade');
        });
    }

    /**
     * Reverse the migrations.
     */
    public function down(): void
    {
        Schema::dropIfExists('articles');
    }
};
6.2 Run migrations
Now, it’s time to create the tables inside our database. for this, just run:
php artisan migrate
Atention here, as you saw before, article contains author_id that get the value of id from author table, in other words, article table dependes of author table. So, make sure that you will create the author migrate file first as saw in step five.
7. Seeder and factories
To facilitate our tests let’s populate our database with some fake data. For this, we’ll use our seeders and factories files created in step 5. You can find this files in app/database/seeders and app/database/factories.
Bellow, we can see the author factory definition:
<?php

namespace Database\Factories;

use Illuminate\Database\Eloquent\Factories\Factory;

/**
 * @extends \Illuminate\Database\Eloquent\Factories\Factory<\App\Models\author>
 */
class AuthorFactory extends Factory
{
    /**
     * Define the model's default state.
     *
     * @return array<string, mixed>
     */
    public function definition(): array
    {
        return [
            'name' => fake()->name(),
            'email' => fake()->unique()->safeEmail()
        ];
    }
}
And now, the article factory definition:
<?php

namespace Database\Factories;

use Illuminate\Database\Eloquent\Factories\Factory;

/**
 * @extends \Illuminate\Database\Eloquent\Factories\Factory<\App\Models\article>
 */
class ArticleFactory extends Factory
{
    /**
     * Define the model's default state.
     *
     * @return array<string, mixed>
     */
    public function definition(): array
    {
        return [
            'title' => fake()->text(),
            'text' => fake()->text()
        ];
    }

    public function withAuthor($id)
    {
        return $this->state([
            'author_id' => $id
        ]);
    }
}
In this case, note that we define a new function withAuthor($id). This functions will help us to define fake articles for each author and pass the author’s ID to these articles.
For seeders, realize that we need define only author seeder because the article can be defined inside author seeder. Let’s create 5 authors and for each one we’ll create 10 articles.
<?php

namespace Database\Seeders;

use Illuminate\Database\Seeder;
use App\Models\Author;
use App\Models\Article;

class AuthorSeeder extends Seeder
{
    /**
     * Run the database seeds.
     */
    public function run(): void
    {
        Author::factory(5)->create()->
        each(function($author) {
            Article::factory(10)->withAuthor($author->id)->create();
        });
    }
}
After, run the command:
php artisan db:seed --class=AuthorSeeder
8. Resources and collections
In our case, won’t necessary any modifications in original resources and collections. Just run the commands bellow:
php artisan make:resource AuthorResource
php artisan make:resource AuthorCollection
php artisan make:resource ArticleResource
php artisan make:resource ArticleCollection
We can find these files in app/Http/Resources/
9. Controllers
Basically, in controllers we’ll define the HTTP interface to our project. Run the commands bellow to create a API controller:
php artisan make:controller AuthorController --api
php artisan make:controller ArticleController --api
Now, open each file created in app/Http/Controllers/AuthorController.php and app/Http/Controllers/ArticleController.php and add the follow code:
<?php

namespace App\Http\Controllers;

use App\Models\Author;
use Illuminate\Http\Request;
use App\Http\Resources\AuthorResource;
use Illuminate\Http\Response;

class AuthorController extends Controller
{
  /**
     * Display a listing of the resource.
     */
    public function index()
    {
        return response()->json(AuthorResource::collection(Author::all()), Response::HTTP_OK);
    }

    /**
     * Store a newly created resource in storage.
     */
    public function store(Request $request)
    {
        $author = Author::create($request->all());

        return response()->json(new AuthorResource($author), Response::HTTP_OK);
    }

    /**
     * Display the specified resource.
     */
    public function show(Author $author)
    {
        return response()->json(new AuthorResource($author), Response::HTTP_OK);
    }

    /**
     * Update the specified resource in storage.
     */
    public function update(Request $request, Author $author)
    {
        $author->update($request->only([
            'name', 'description', 'text'
        ]));

        return response()->json(new AuthorResource($author), Response::HTTP_OK);
    }

    /**
     * Remove the specified resource from storage.
     */
    public function destroy(Author $author)
    {
        $author->delete();
        return response()->json(null, Response::HTTP_NO_CONTENT);
    }
}
<?php

namespace App\Http\Controllers;

use App\Models\Article;
use Illuminate\Http\Request;
use App\Http\Resources\ArticleResource;
use Illuminate\Http\Response;

class ArticleController extends Controller
{
    /**
     * Display a listing of the resource.
     */
    public function index()
    {
        return response()->json(ArticleResource::collection(Article::all()), Response::HTTP_OK);
    }

    /**
     * Store a newly created resource in storage.
     */
    public function store(Request $request)
    {
        $article = Article::create($request->all());

        return response()->json(new ArticleResource($article), Response::HTTP_OK);
    }

    /**
     * Display the specified resource.
     */
    public function show(Article $article)
    {
        return response()->json(new ArticleResource($article), Response::HTTP_OK);
    }

    /**
     * Update the specified resource in storage.
     */
    public function update(Request $request, Article $article)
    {
        $article->update($request->only([
            'name', 'description', 'text'
        ]));

        return response()->json(new ArticleResource($article), Response::HTTP_OK);
    }

    /**
     * Remove the specified resource from storage.
     */
    public function destroy(Article $article)
    {
        $article->delete();
        return response()->json(null, Response::HTTP_NO_CONTENT);
    }
}
Exists a lot of methos that aim add a data in database. in this case, we’ll use the create() method. For this, we need define the fillable fields in our models.
In Author model, bellow use HasFactory, add the code:
protected $fillable = ['name', 'email'];
And in Article model, bellow use HasFactory, add too:
protected $fillable = ['title', 'description', 'text', 'author_id'];
10. Routes
Exists some ways to configure the project routes. We’ll concentrate defining the file routes/api.php like bellow:
<?php

use Illuminate\Http\Request;
use Illuminate\Support\Facades\Route;
use App\Http\Controllers\AuthorController;
use App\Http\Controllers\ArticleController;

/*
|--------------------------------------------------------------------------
| API Routes
|--------------------------------------------------------------------------
|
| Here is where you can register API routes for your application. These
| routes are loaded by the RouteServiceProvider and all of them will
| be assigned to the "api" middleware group. Make something great!
|
*/

Route::middleware('auth:sanctum')->get('/user', function (Request $request) {
    return $request->user();
});

Route::apiResource('/authors', AuthorController::class);
Route::apiResource('/articles', ArticleController::class);
11. Tests
Bellow, we’ll test each HTTP operation using Author as example. For the tests we’ll use the Postman, a powerfull tool to help us in API tests.
Run the project with php artisan serve and open the Postman.
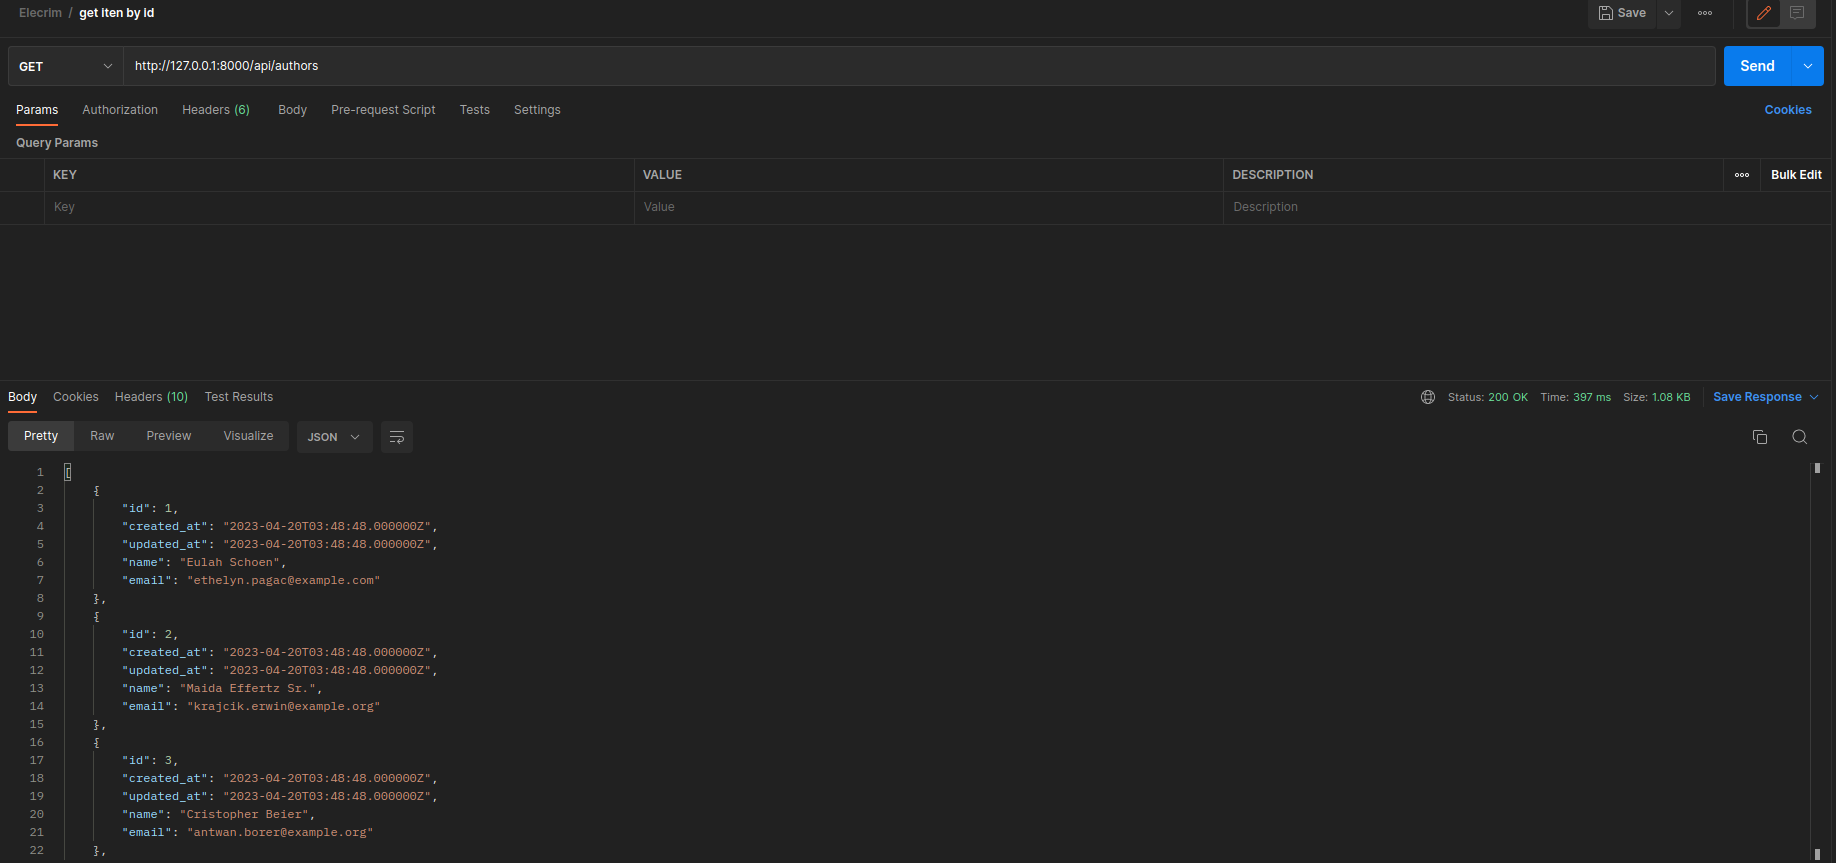
First, let’s load all our Authors saved in databese. Remember, saved by the seeder.
Let’s load only one Author by index:
Now, we’ll create a new Author:

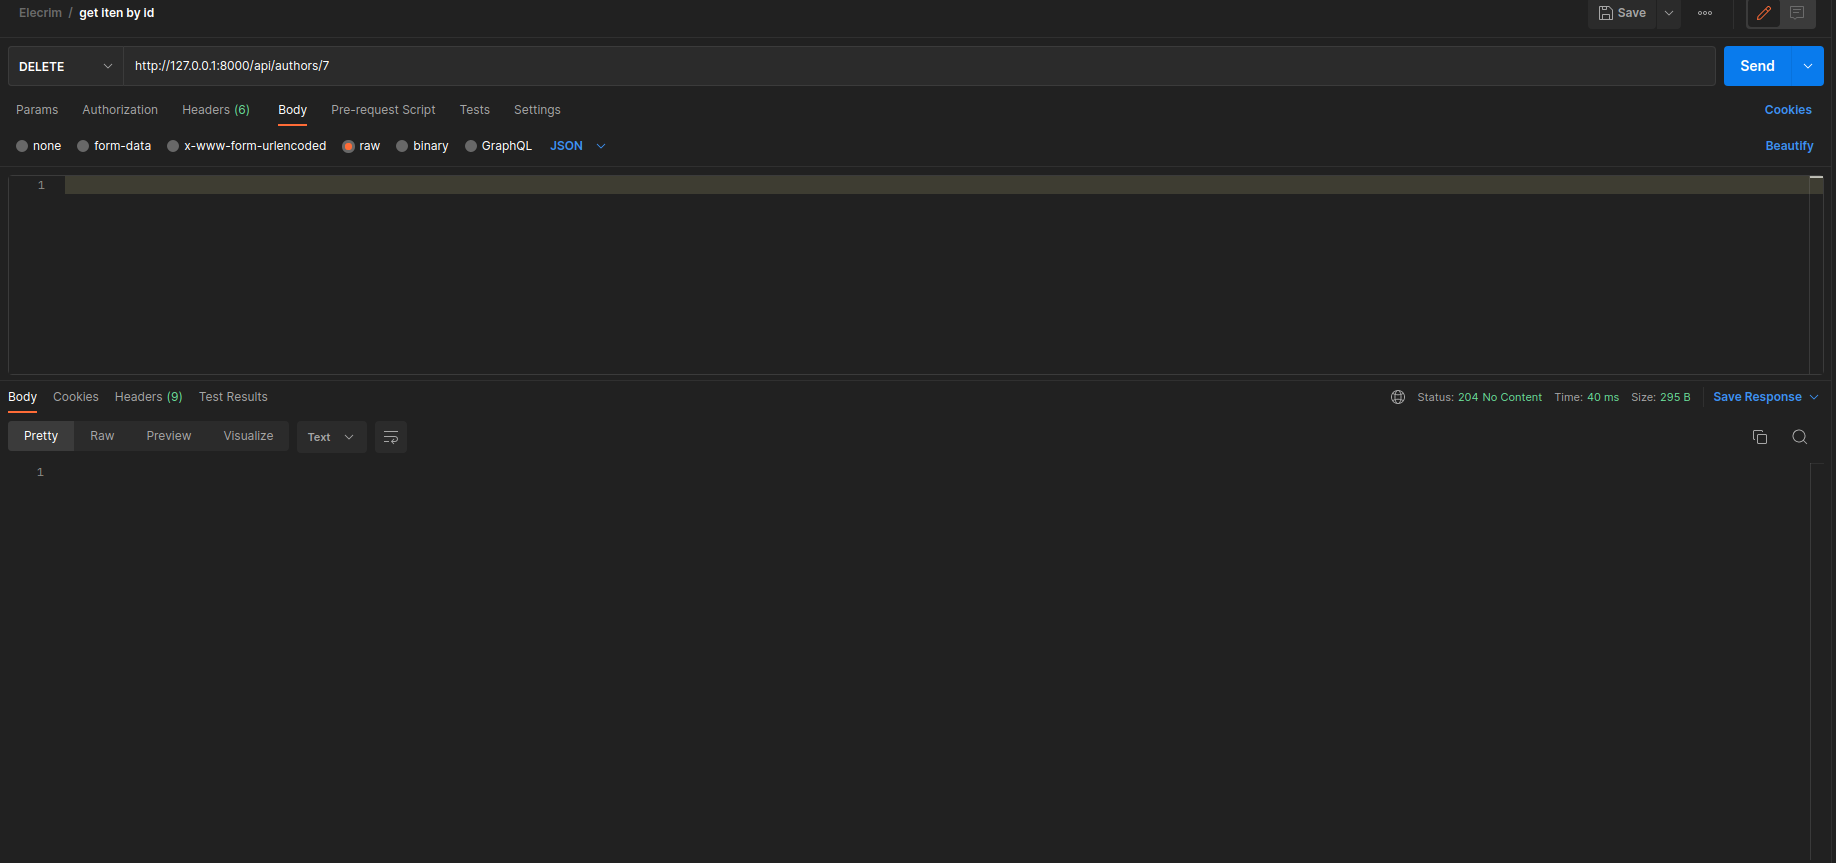
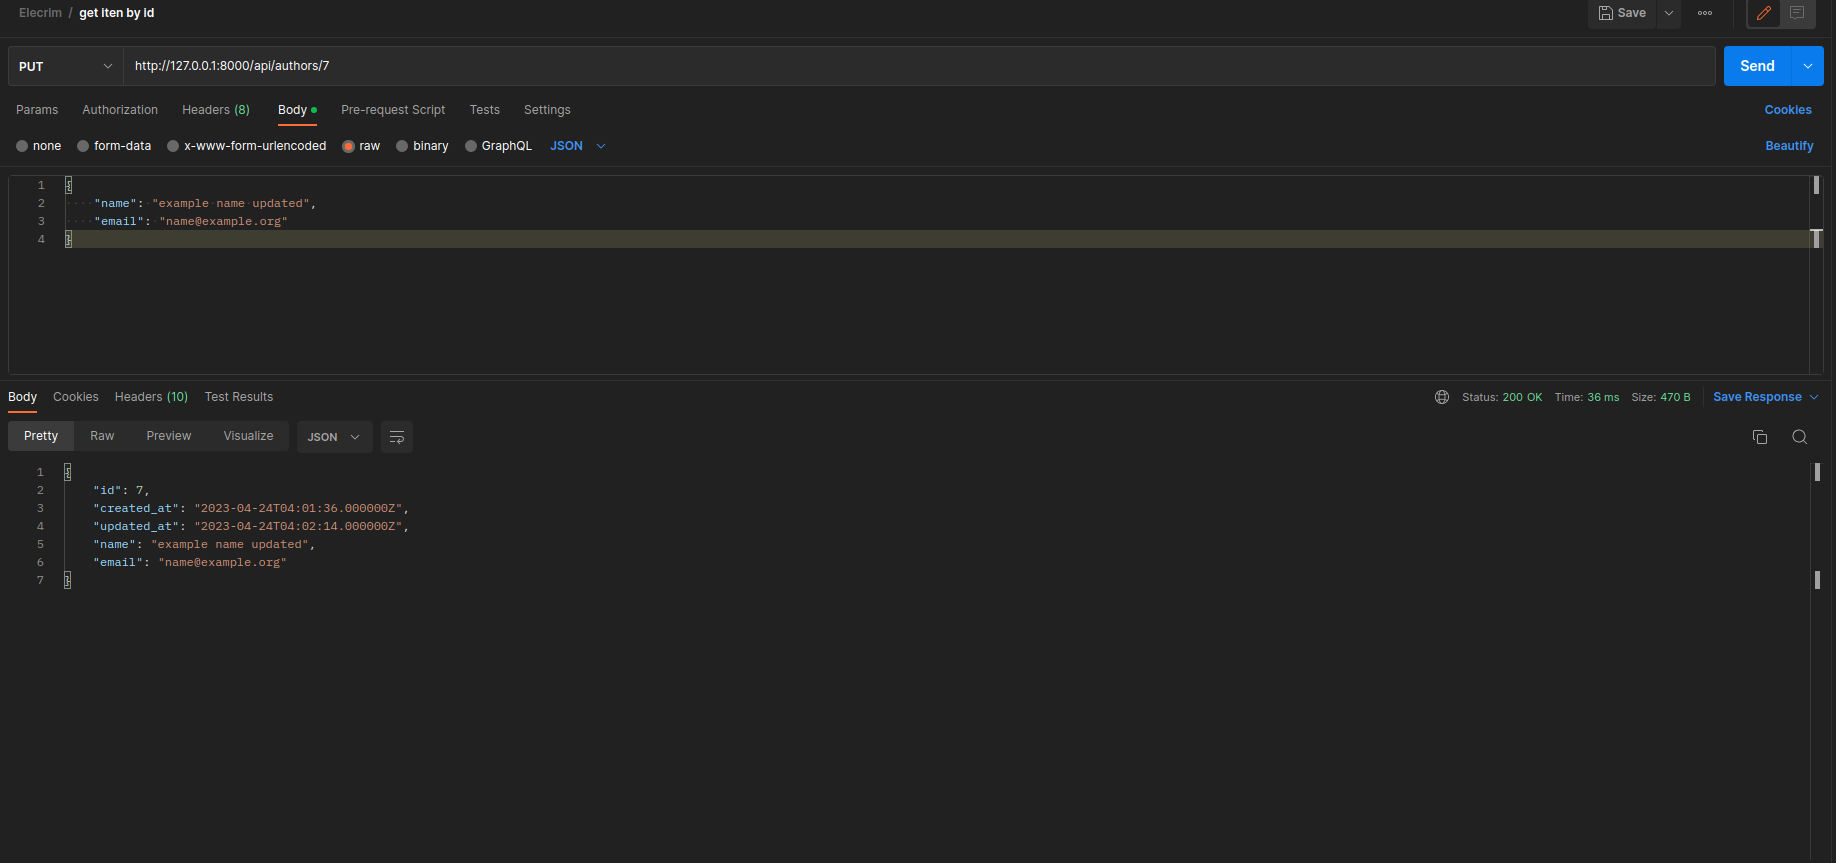
Bellow, we’ll update the last Author created:

For the end, we’ll delete our created Author: